
当学习像Istio这样的新技术时,我推荐看一看项目自带的示例。Istio包含了一些示例程序,但都有各种各样的不足。比如说BookInfo就是很好的一个应用。但是对我来说,它太冗长,服务太多,而且文档似乎专注于管理BookInfo应用程序,而不是从头构建。另外还有一个小一点的示例-helloworld,但是它仅关注于自动伸缩。
在这篇文章中,我想从基础讲起,并向您展示如何从头开始构建支持Istio的“HelloWorld”应用程序。要记住的一点是,Istio只管理您应用的流量,应用程序生命周期由底层平台Kubernetes管理。因此,您需要了解容器和Kubernetes基础知识,并且需要了解Istio 路由原语,例如Gateway,VirtualService,DestinationRule。我假设大多数人都知道容器和Kubernetes基础知识。我将在本文中专注于介绍Istio 路由。
基本步骤
这些大致是创建Istio “HelloWorld”应用程序的步骤:
- 创建一个Kubernetes集群并安装带有自动sidecar注入的Istio。
- 使用您选择的语言创建一个HelloWorld应用程序,基于这个程序创建一个Docker镜像并将其推送到公共镜像存储库。
- 为容器创建Kubernetes Deployment和Service。
- 创建Gateway以启用到集群的HTTP(S)流量。
- 创建VirtualService以通过Gateway公开Kubernetes服务。
- (可选)如果要创建应用程序的多个版本,请创建DestinationRule以定义可从VirtualService引用的子集。
- (可选)如果要从服务网格调用外部服务,请创建ServiceEntry。
我不会在本文中介绍步骤1和2,因为它们不是Istio特有的。 如果您需要有关这些步骤的帮助,可以查看我在本文末尾提到的codelabs。 第3步也不是Istio特定的,但它是其他一切的先决条件,所以我们从那开始。
Deployment和Service
正如我所提到的,应用程序生命周期由Kubernetes管理。 因此,您需要从创建Kubernetes Deployment和Service开始。我有一个容器化的ASP.NET核心应用程序,容器镜像我已经推送到谷歌容器注册表。让我们从创建一个aspnetcore.yaml文件开始:
apiVersion: v1
kind: Service
metadata:
  name: aspnetcore-service
  labels:
    app: aspnetcore
spec:
  ports:
  - port: 8080
    name: http
  selector:
    app: aspnetcore
---
apiVersion: extensions/v1beta1
kind: Deployment
metadata:
  name: aspnetcore-v1
spec:
  replicas: 1
  template:
    metadata:
      labels:
        app: aspnetcore
        version: v1
    spec:
      containers:
      - name: aspnetcore
        image: gcr.io/istio-project-212517/hello-dotnet:v1
        imagePullPolicy: Always #IfNotPresent
        ports:
        - containerPort: 8080
创建deployment和service:
$ kubectl apply -f aspnetcore.yaml
service "aspnetcore-service" created
deployment.extensions "aspnetcore-v1" created
到现在为止还没有专门讲到Istio。
Gateway
我们现在可以回到Istio路由了。首先,我们需要为服务网格启用HTTP/HTTPS流量。 为此,我们需要创建一个Gateway。 Gateway描述了在网络边缘运行的负载均衡器,用于接收传入或传出的HTTP / TCP连接。
让我们创建一个aspnetcore-gateway.yaml文件:
apiVersion: networking.istio.io/v1alpha3
kind: Gateway
metadata:
  name: aspnetcore-gateway
spec:
  selector:
    istio: ingressgateway # use istio default controller
  servers:
  - port:
      number: 80
      name: http
      protocol: HTTP
    hosts:
    - "*"
创建Gateway:
$ kubectl apply -f aspnetcore-gateway.yaml
gateway.networking.istio.io "aspnetcore-gateway" created
我们已经为集群启用了HTTP流量。 我们需要将之前创建的Kubernetes服务映射到Gateway。我们将使用VirtualService执行此操作。
VirtualService
VirtualService实际上将Kubernetes服务连接到Istio网关。它还可以执行更多操作,例如定义一组流量路由规则,以便在主机被寻址时应用,但我们不会深入介绍这些细节。
让我们创建一个aspnetcore-virtualservice.yaml文件:
apiVersion: networking.istio.io/v1alpha3
kind: VirtualService
metadata:
  name: aspnetcore-virtualservice
spec:
  hosts:
  - "*"
  gateways:
  - aspnetcore-gateway
  http:
  - route:
    - destination:
        host: aspnetcore-service
请注意,VirtualService与特定网关绑定,并定义引用Kubernetes服务的主机。
创建VirtualService:
$ kubectl apply -f aspnetcore-virtualservice.yaml
virtualservice.networking.istio.io "aspnetcore-virtualservice" created
测试app v1版本
现在可以开始测试我们的应用了,首先需要拿到Istio Ingress Gateway的外部IP地址。
$ kubectl get svc istio-ingressgateway -n istio-system
NAME                   TYPE           CLUSTER-IP     EXTERNAL-IP
istio-ingressgateway   LoadBalancer   10.31.247.41   35.240.XX.XXX
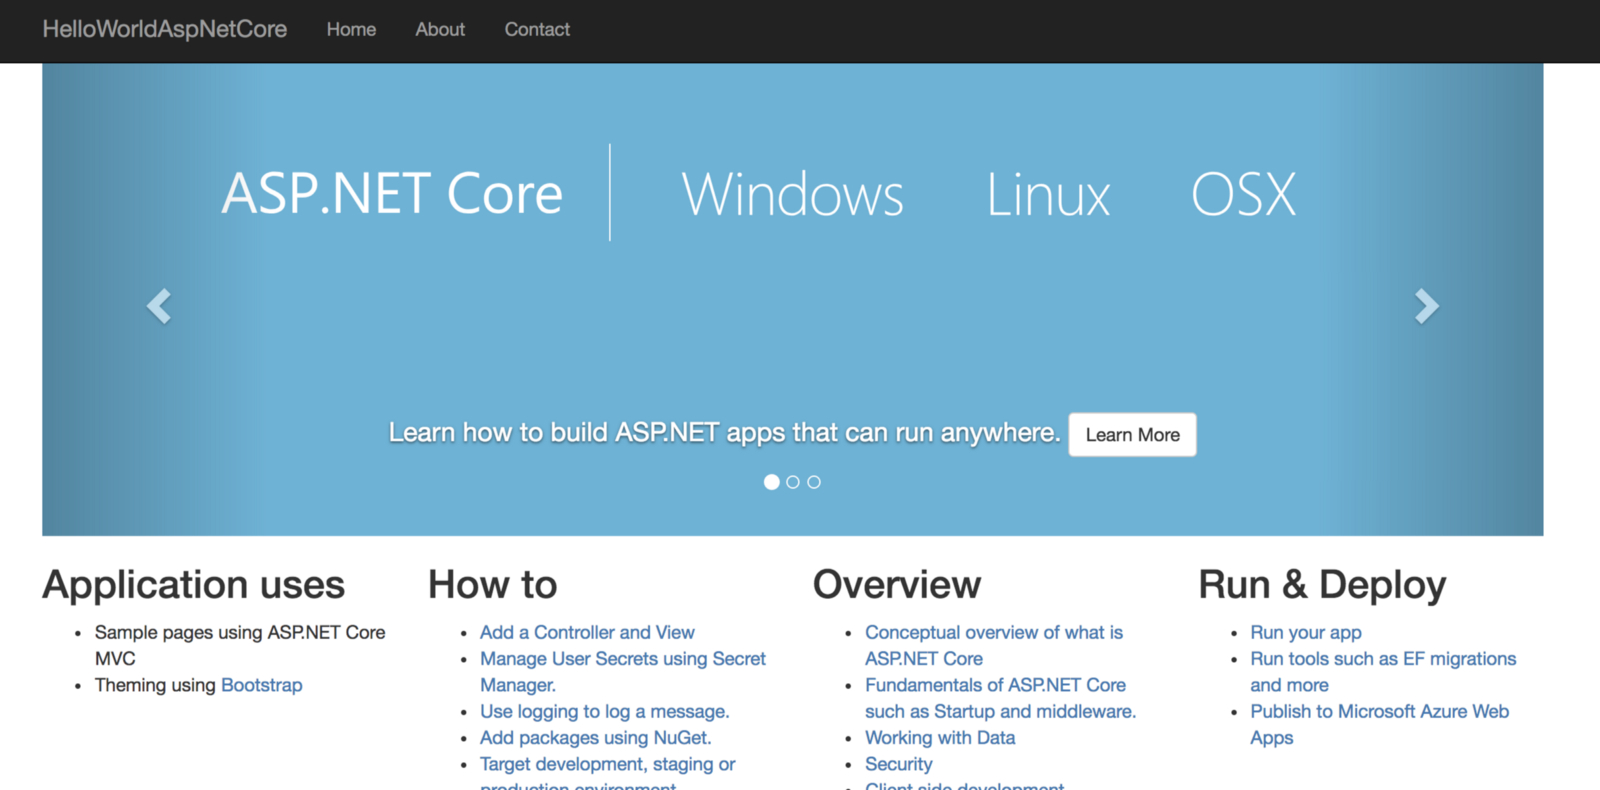
当我们用浏览器访问外部地址时,我们应该看到HelloWorld ASP.NET Core程序。
DestinationRule
在某些时候,您希望将应用更新为新版本。 也许你想分割两个版本之间的流量。 您需要创建一个DestinationRule来定义那些版本,在Istio中称为子集。
首先,更新aspnetcore.yaml文件,用v2版本的容器来定义v2的部署(Deployment):
apiVersion: v1
kind: Service
metadata:
  name: aspnetcore-service
  labels:
    app: aspnetcore
spec:
  ports:
  - port: 8080
    name: http
  selector:
    app: aspnetcore
---
apiVersion: extensions/v1beta1
kind: Deployment
metadata:
  name: aspnetcore-v1
spec:
  replicas: 1
  template:
    metadata:
      labels:
        app: aspnetcore
        version: v1
    spec:
      containers:
      - name: aspnetcore
        image: gcr.io/istio-project-212517/hello-dotnet:v1
        imagePullPolicy: Always #IfNotPresent
        ports:
        - containerPort: 8080
---
apiVersion: extensions/v1beta1
kind: Deployment
metadata:
  name: aspnetcore-v2
spec:
  replicas: 1
  template:
    metadata:
      labels:
        app: aspnetcore
        version: v2
    spec:
      containers:
      - name: aspnetcore
        image: gcr.io/istio-project-212517/hello-dotnet:v2
        imagePullPolicy: Always #IfNotPresent
        ports:
        - containerPort: 8080
创建一个新的部署(Deployment):
$ kubectl apply -f aspnetcore.yaml
service "aspnetcore-service" unchanged
deployment.extensions "aspnetcore-v1" unchanged
deployment.extensions "aspnetcore-v2" created
如果刷新浏览器,你可以看到VirtualService 在v1 和v2 版本之间切换:
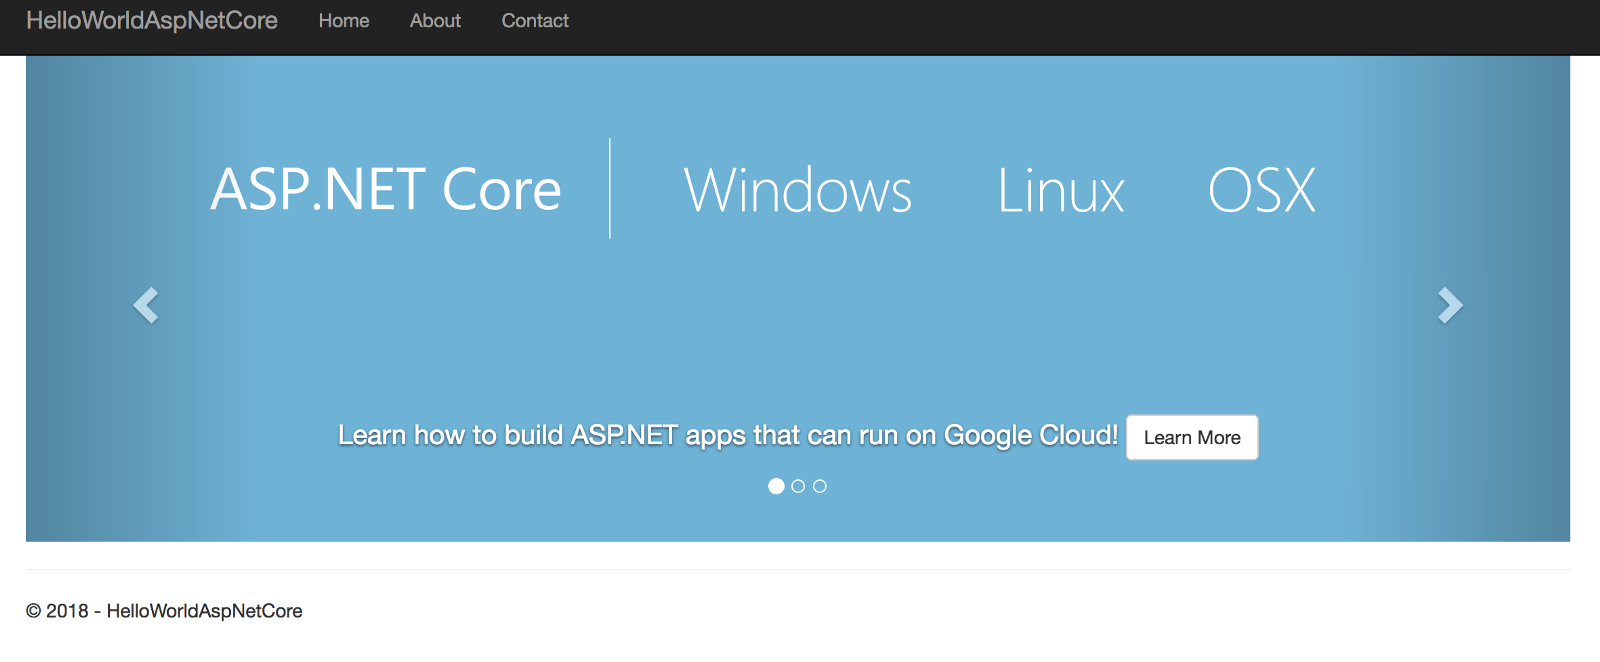
这个结果是预料之中的,因为这两个版本都暴露在相同的Kubernetes服务之后:aspnetcore-service。
如果您想将服务仅限于v2该怎么办? 可以通过在VirtualService中指定子集来完成,但我们需要首先在DestinationRules中定义这些子集。 DestinationRule本质上将标签映射到Istio子集。
创建一个aspnetcore-destinationrule.yaml文件:
apiVersion: networking.istio.io/v1alpha3
kind: DestinationRule
metadata:
  name: aspnetcore-destinationrule
spec:
  host: aspnetcore-service
  trafficPolicy:
    tls:
      mode: ISTIO_MUTUAL
  subsets:
  - name: v1
    labels:
      version: v1
  - name: v2
    labels:
      version: v2
创建DestinnationRule:
$ kubectl apply -f aspnetcore-destinationrule.yaml
destinationrule.networking.istio.io "aspnetcore-destinationrule" created
现在,你可以在VirtualService指向v2子集:
apiVersion: networking.istio.io/v1alpha3
kind: VirtualService
metadata:
  name: aspnetcore-virtualservice
spec:
  hosts:
  - "*"
  gateways:
  - aspnetcore-gateway
  http:
  - route:
    - destination:
        host: aspnetcore-service
         subset: v2
更新VirtualService:
$ kubectl apply -f aspnetcore-virtualservice.yaml
virtualservice.networking.istio.io "aspnetcore-virtualservice" configured
现在再刷新浏览器,你应该只会看到v2版本的内容了。
ServiceEntry
最后我大概提一下ServiceEntry。所有外部流量在Istio中都是默认被阻断了的,如果你需要启用外部流量就需要创建一个ServiceEntry来列出所有的已经启用外部流量的协议和主机。你可以从这里了解更多信息,我在这篇文章中就不多做阐述了。
希望这篇文章对你有所助益!如果你还想了解更多,这里有一个系列更详细的阐述了这篇文章提到的所有概念和解释: